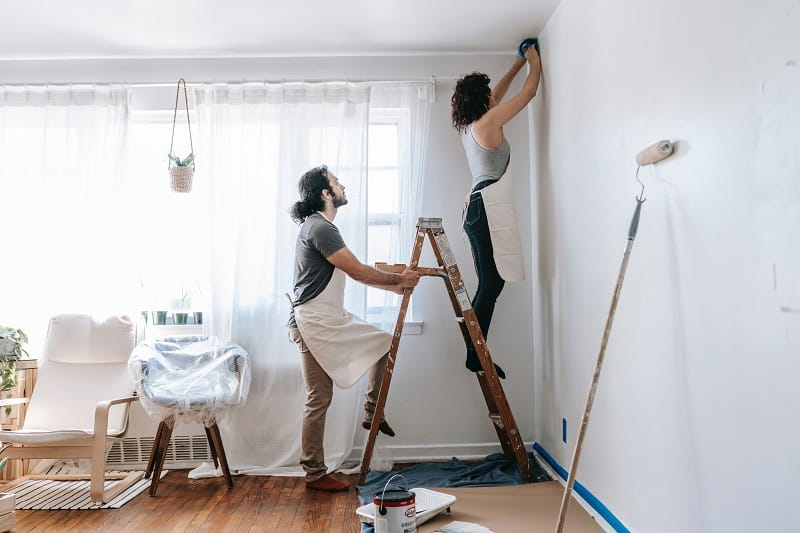
Modern paints have excellent adhesion and covering power, but to get the best performance from them they must be given a good start by preparing surfaces for painting thoroughly.
Wash surfaces, which have previously been painted, using a solution of strong household detergent or sugar soap. Rinse them very thoroughly with clean water, and allow them to dry completely before starting repainting.
Remove areas of flaking paint with a scraper or filling knife, and then either touch the bare area with more paint or fill it flush with the surrounding paint film by using a fine filler. Sand this smooth when it has hardened.
If the surface shows signs of mildew growth due to persistent condensation, wipe it over with household bleach, or refrigerator cleaner containing a fungicide, to kill off the spores. Wash down the surface with detergent and rinse thoroughly.
If knots are showing through on painted woodwork, sand the paint film back to bare wood and apply knotting to the knot, then prime and undercoat to bring the new paint film level with the surrounding paintwork. Sand between coats. Resinous knots may produce stains which can only be prevented by drying the knot out with a blowtorch.
Preparing painted woodwork
- Use fine-grade abrasive paper wrapped around a sanding block to remove ‘nibs’ from the paint surface and to key the paint film ready for repainting.
- Wash the surface down with detergent or sugar soap to remove dirt, grease, finger marks, and dust from sanding it. Rinse with clean water, ensuring that no detergent residue is left as this will inhibit the new paint film.
- Use a proprietary tack rag or a clean cloth moistened with white spirit to remove dust from recessed moldings and other awkward corners.
Filling defects in wood
- Fill splits and dents in wood using filler on painted surfaces, and tinted wood stopper on new or stripped wood that will be varnished.
- Use the corner of a filling knife, or even a finger, to work the filler into recesses and other awkward-to-reach places. Smooth off excess filler before it dries.
- When the filler or wood stopper has hardened completely, use abrasive paper wrapped around a sanding block to sand the repair down flush.
Filling cracks in plaster
- Use the corner of a filling knife to rake out loose material along the line of the crack, and undercut the edges slightly so that the filler has a better grip.
- Brush out dust and debris from the crack, using an old paintbrush. Alternatively, use the crevice nozzle attachment of a vacuum cleaner.
- Dampen the surrounding plaster with water from a garden spray gun to prevent it from drying out the filler too quickly and causing it to crack.
- Miz up some filler on a plasterer’s hawk or a board offcut to a firm consistency. Alternatively, use ready-mixed filler or wallboard compound.
- Use a filling knife to press the filler well into the crack, drawing the blade across it and then along it. Aim to leave the repair slightly proud.
- When the filler has hardened, use fine-grade abrasive paper wrapped around a sanding block to smooth the repair flush with the surrounding wall.
Dealing with stains
If ceilings have been stained by plumbing leaks, seal the affected area with a proprietary aerosol stain sealer to prevent the stain from showing through the new paint film.
Alternatively, paint the affected area with white gloss paint-it will seal just as well and is usually already on hand. It can be overpainted with water-based paint.
FAQ
What can I use to clean surfaces before painting?
Before you paint your walls, floors, furniture, etc., make sure there is no dust or dirt on any surface. If it’s dusty, wipe it down with a damp cloth. Then wipe it again with dry paper towels. This will remove most of the dust from the surface. You should also vacuum your home regularly. Vacuuming removes dust and other particles from carpets, rugs, upholstery, curtains, draperies, and other household items. It also helps keep the air cleaner by removing dust from the air.
Do I need to sand before painting?
Sanding is used to make wood smooth so it will accept paint better. It also helps keep the paint from drying out too quickly. There are several different types of sandpaper available. Each type has its own characteristics. You can use one kind of paper or mix up your own blend.
How long to let walls dry after washing before painting?
Walls should be allowed to dry completely before you paint over them. If you don’t wait until all the water is out of the wall it will take longer to dry and could cause problems if you try to paint right away.

