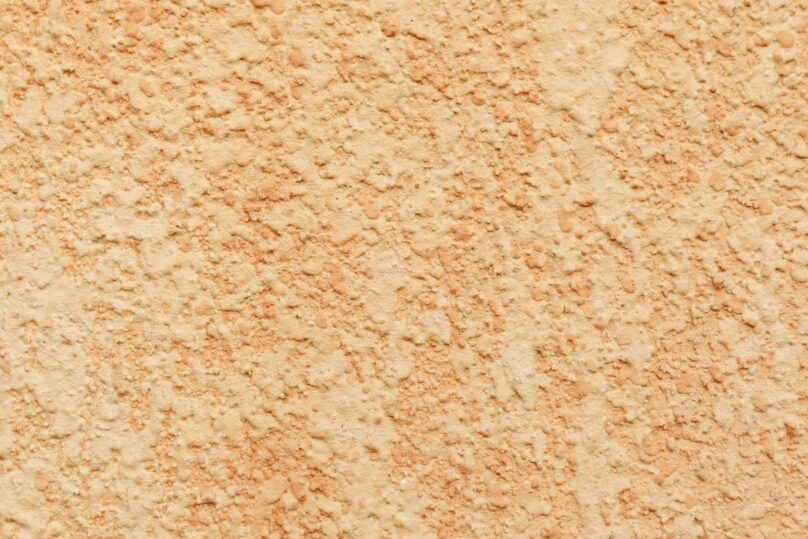
There is no need to stick to plain color on painted walls as there is a wide range of specialist paint effects that will enliven their looks. Some of these effects are purely decorative in their own right; others imitate the appearance of other materials.
All can be created with the use of inexpensive tools and materials, and practice and patience will bring highly attractive results.
The special paint with effects dealt with here falls into broad groups: broken color and imitation. In the first group, a range of different techniques is used to apply a second color over a different base color so that the latter still shows through, providing a pleasing two-color effect. In the second group, paint is used to copy the looks of materials such as wood veneers and marble.
For either finish, it is essential to prepare the surface of the wall or woodwork thoroughly first.
Need Tools and Materials for special paint effects
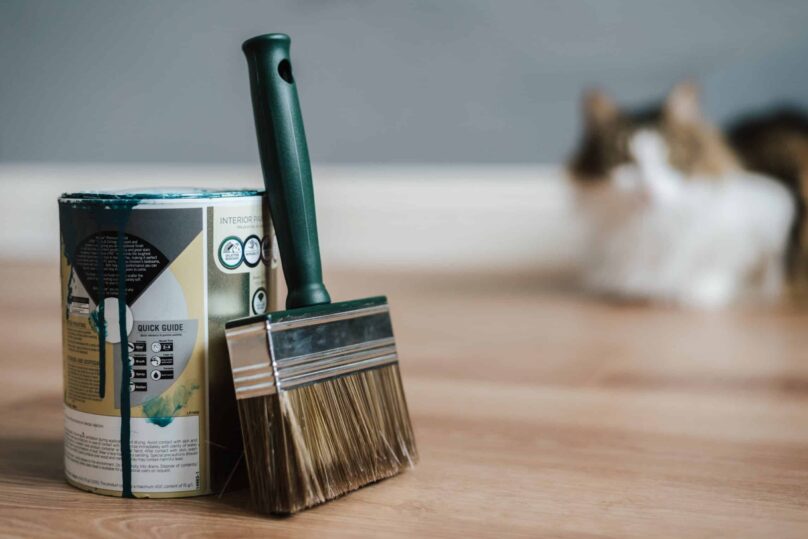
Among the tools and materials needed are
- Dusting brush
- Small paint brush
- Softening brush
- Stippling brush
- Artists paintbrushes
- Cotton or linen rags
- Natural marine sponge
- Rubber rocker for graining
- Large paintbrush
- Flat-bristle varnishing brush
Glazes
Most special effects are applied as a tinted glaze which is semi-transparent and allows the underlying base color to show through. Water-based glazes are made from water-based paint diluted with water or a proprietary emulsion glaze until the required level of translucency has been achieved.
Use colored paints or tint white paint to the required shade with artists’ acrylics. water-based glazes produce a thinner, more open, coat of colour and they are not suitable for the more complex special paint effects.
Scumble is the main component of solvent-based glazes and is generally diluted with a mixture of 1 part linseed oil to 2 parts white spirit. However, the proportions can be varied; a higher proportion of scumble will increase the definition of the effect and will retard the drying time; More linseed oil produces a smoother texture; white spirit thins the glaze and speeds up the drying time.
Once the glaze has been mixed, pour off a small quantity and add the color to this, using either eggshell paint or artists oils. When the correct color has been mixed, gradually add this to the main quantity of glaze until the required level of transparency is achieved.
Solvent-based glazes have a rich, hardwearing finish and the slower drying times are particularly suited to special effects. If working over large areas-more than 2 sq m- two people will be needed to achieve the best finish: one to apply the glaze and the order to work it. This is the only way to maintain a wet edge and therefore to avoid noticeable joins between one area of color and the next.
Stenciling
This is slightly different from the other techniques since the stencil produces a clearly defined shape. It is very simple to do and can be used to create effects in more than one colour by using different stencils. Ready-cut stencils can be bought, but it is easy to create designs of your own.
Cutting stencils
To cut stencils, tracing paper, some special waxed paper for stencils, a pencil, a pin, and a scalper or sharp utility knife are needed. Trace or draw the pattern and enlarge or reduce it on a photocopier, if necessary. Tape the finished trace to the stencil paper and prick through it to mark the design outline on the stencil paper. Join up the prick marks in pencil.
Alternatively, transfer the trace onto the stencil using carbon paper. Cut out the design carefully, leaving sufficient ties to bridge the separate areas of the design, and allow a large margin above and below the design so that the stencil is sufficiently strong. Reinforce any tears or accidental cuts with adhesive tape.
- Affix the stencil to the surface with masking tape, aligning it with a true horizontal pencil guideline. Dip the stenciling brush in the paint and remove the excess on some waste paper. Use a pouring action to apply the paint to minimize the risk of color seeping under the stencil and marring the masked-off areas.
- When the paint is touch-dry, release the stencil, wipe off the wet paint and reposition it farther along the wall to create the next section of the pattern.
Sponging
This technique involves dabbing irregular patches of paint onto the base coat. Two or more different sponged colours can be applied. Note that a natural marine sponge must be used to create these effects; man-made sponges do not work. soak it in water first until it swells to its full size, then wring it out ready to start applying the paint.
- After testing the effect on an offcut of the board, dip the sponge in the paint and apply light pressure to leave overlapping splodges of color.
- Allow the first application to dry, then go over the surface again and add more color if necessary to deepen the contrast with the base color.
- If applying a different second color, allow the first color to dry and they use the same technique to apply the new colour over it.
Rag-rolling
Another simple two-color effect of rag-rolling involves brushing a diluted second color over the base coat and then using a rolled-up sausage of cloth to remove some of the second colors before it starts to dry.
The technique works best with a base coat of eggshell paint and a top coat of eggshell paint diluted with white spirit. Use lint-free cotton or linen rags and change them frequently before they become soaked with paint.
- Allow the base coat to dry thoroughly. Then lightly brush on the second diluted colour in bands across the surface, aiming to leave a random pattern of brushstrokes that allows the base color to show through.
- Roll the rag sausage across the surface in a continuous motion. Vary the direction for a random effect and touch in small areas by just dabbing with the cloth. Replace the rag regularly.
Stippling

For an attractive mottled appearance, try stippling; apart from being used as a decorative finish in its own right, it can also be used to obliterate brush marks in the base coat beneath other broken-color effects.
The one item of specialist equipment that is needed to create this effect is a stippling brush.
- Brush the glaze over the base coat, applying a generous coat. Do not worry about leaving brush marks; the stippling will obliterate them.
- Hold the stippling brush with the bristle tips parallel with the surface, and simply hit the paint film. Clean paint from the brush regularly, wiping it with a dry cloth.
Color washing
This is one of the simplest broken-color effects. Brush on the glaze and then use a dry softening brush or an ordinary wide paintbrush to create a random pattern of brushstrokes that allow the base coat to show through. Further colour can be added.

- Brush a liberal coat of the glaze over the base coat. The effect of colour washing is enhanced when there is a good contrast between the two paint colors.
- Draw the softening brush over the glaze in a series of long random strokes in varying directions. Add a further toning colour if desired when this coat has dried.
Graining
Graining is a technique that aims to imitate the look of natural wood, especially the more exotic and expensive species. Use a solvent-based eggshell paint for the base coat and a solvent-based glaze.
- Brush the glaze onto the wood surface, leaving the brush marks visible along the direction of the intended wood grain effect.
- Then, after a couple of minutes, draw a dry graining brush or an ordinary paintbrush lightly over the glaze to create the actual grain pattern.
- Use a rubber rocker, a graining comb, or a bristle grainer to produce the individual grain characteristics of the wood you are copying.
Dragging
Another very simple effect, dragging is created by drawing a dry brush over the glaze in a series of parallel strokes that allow the base color to show through. Use a normal paintbrush in a width to suit the surface being decorated.
- Brush a generous coat of glaze over the base coat. Always work parallel to the direction of the grain if applying the effect to wood.
- Use a dry paintbrush to drag a series of parallel linen in the second colour. Wipe the build-up of paint off the brush at regular intervals with a dry cloth.
Marbling
As its name implies, marbling copies the appearance of marble. It is a relatively difficult technique to master, but the results can be quite spectacular. For a first attempt choose a piece of real marble to copy. For best results work with a solvent-based glaze, applied over an eggshell base coat. Add the veining details with artists’ oils.
- Either brush out the glaze or apply it with a pad of lint-free cloth. only a relatively thin coat is needed.
- Use a dusting brush as here or a stippling brush to stipple the surface of the wet glaze. Add more color to the glaze mixture, apply selectively to some areas for contrast, and stipple the glaze again.
- Working on the wet glaze, draw in the main areas of veining with an artist’s paintbrush and a mixture of glaze and artists oils. Use different weights of lines to create natural-looking effects.
- Use the softening brush again to soften the outlines of the veining and to blend it into the background. wipe the brush regularly to avoid smudges.
- Highlight some areas of the veining by adding more colour or a second colour. Soften the effect again, as in step 4.
Conclusion
Paint effects can be created to add a unique and special touch to home interior paint colors. There are various paint effects that can be used to add a touch of luxury, such as a rich brown or black hue with delicate white paint chips. or to add a touch of luxury, such as a rich brown or black hue with delicate white paint chips. Another option is to use a thin layer of thin paint, such as a light blue paint effect, of course, to add a light touch of luxury to a room’s decor.
FAQ
How do room colors affect your mood?
The colors that you see in your room affect your mood. Keep the color scheme simple, such as black & white, and use black as a predominately dark color. If you see more competition in the room, try to use a brighter color such as yellow or green.
Which colors make a room look brighter?
Some colors can make a room look brighter, while others may not produce a positive effect. Some people might prefer a more natural-looking color change than others. Some changes can be easy or difficult to make, depending on the person’s personality.
Which color ceiling makes a room look bigger?
as different people have different opinions on how a room looks from the outside. Some people may find themselves enjoying a certain color ceiling because it makes their home look larger, while others may find the color ceiling themselves. Ultimately, it is up to the individual to decide how their home looks from the outside.

